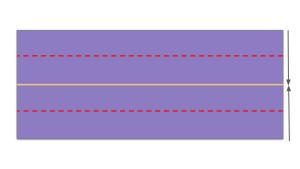
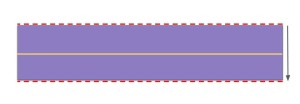
Corners are tricky. Whether you are painting them, moving furniture around them, trying to see around them, or sewing them- corners always need some extra attention.
There are several ways to sew corners. In this blog I’ll show you the method that I like to use when sewing my bags. I use this method because I reliably get the same size corner on both sides of the bag.
To begin, sew two pieces of fabric, right sides together, with a quarter inch seam allowance. Sew down one side until you are a quarter inch from the bottom, turn your fabric 90 degrees, and continue to sew along the next side. (You can use whatever seam allowance you want, just make sure you keep it the same on both sides of your corner.)
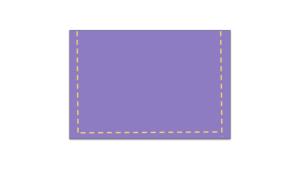
The next step is to determine how deep you need your corners to be. If you want a two inch deep corner, you’ll need a one inch square: Use half of the desired depth to draw a square on the corner of your fabric*.
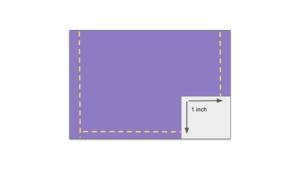
Cut out the square.

Now, pinch the corner of your cut out square to open it. Roll your fabric, so that the seam from the side of the bag lines up with the seam on the bottom. Your fabric should be in a straight line, with the seam in the middle of the fabric edge, perpendicular to that edge. I push my seam allowance to one side. Pin in place.
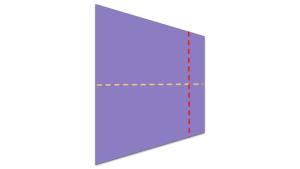
Sew along the straight edge to close your corner. I use the same quarter inch seam allowance. Flip your fabric right side out. And there you have it! A three dimensional piece of fabric, with aligned seams!
*The fine print: Cutting a corner at an EXACT depth requires some more careful measurements. In the example above, the hole that was cut for the corner was two inches deep, but then I sewed it another quarter inch away from the edge. Technically, the resulting corner is about 2.25 inches deep. To get EXACTLY two inches deep, cut your corner hole slightly less than one inch, roll your fabric and pin as above. Place a ruler parallel to the edge of the hole and move it away from the hole until the fabric measures two inches from top to bottom. Draw a line on that spot and sew on top of this line. Now your finished corner should be two inches deep.

